

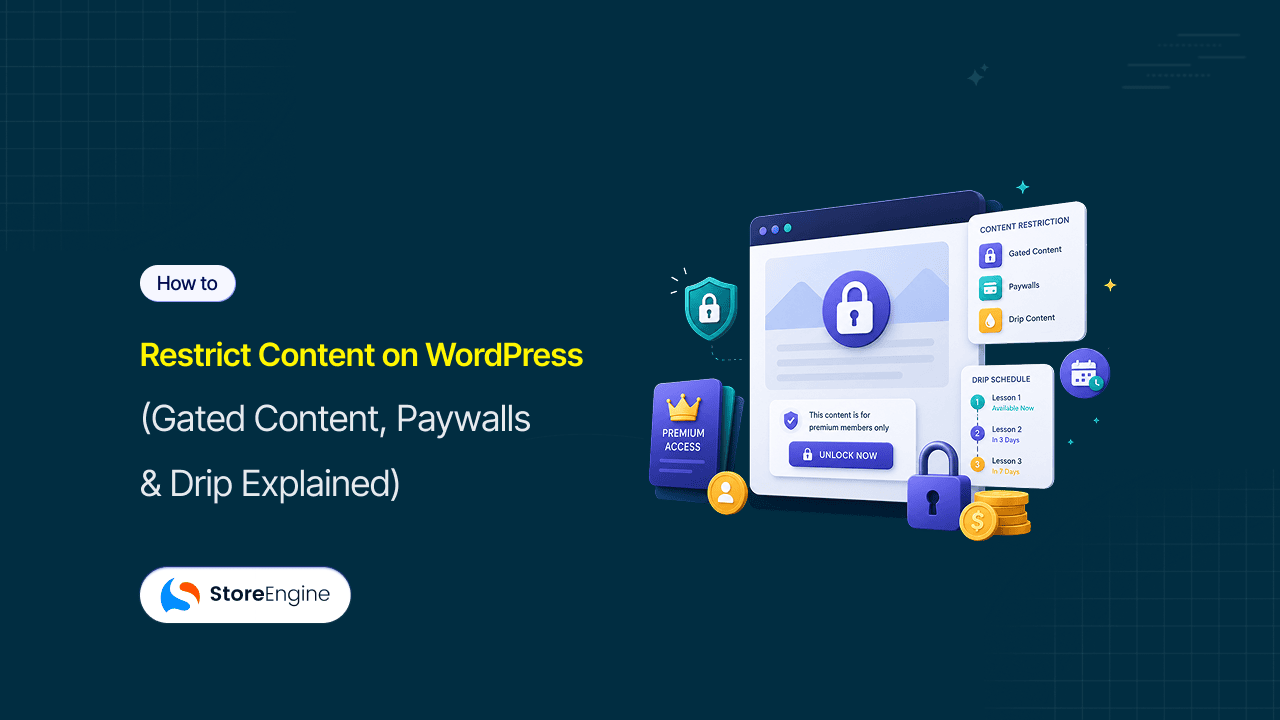

You’ve built the content. You’ve set up the membership. You hit publish — and then realise anyone can visit that URL and read everything for free. The content protection step is the one most people set up last and get wrong first.
Restricting content on WordPress means controlling who can see what, based on whether they’re a member, which tier they’re on, and whether their subscription is currently active. It sounds simple. In practice, there are five different levels of restriction to understand, three different ways to handle non-member visitors, and a separate decision about whether to drip content over time or release it all at once.
This guide covers all of it — what gated content actually means, the different types of content you can protect, how paywalls and restriction messages work, what drip content is and when to use it, and how StoreEngine’s Membership addon handles protection at each level. By the end, you’ll know exactly what to configure and in what order.
Quick Answer: How do you restrict content on WordPress?
- Page or post level — open any post or page, find the membership plugin’s Access Group panel in the sidebar, assign a group. Only members of that group can view it.
- Category or taxonomy level — assign a category to an Access Group. Every post inside that category inherits the restriction automatically. No need to edit each post individually.
- File and media protection — restrict direct URL access to uploaded PDFs, images, and downloads so non-members can’t access files even if they find the direct link.
- Entire site — one toggle restricts all content site-wide. Visitors see a login/join page until they authenticate. Useful for fully private portals or internal tools.
- Drip content — release content on a schedule after signup instead of all at once. Members unlock new material over time, which improves engagement and reduces early cancellation.
What Is Gated Content?
Gated content is any content that requires the visitor to complete an action — paying, registering, or logging in — before they can access it. The “gate” is the barrier between the visitor and the content.
For a membership program site, the gate is your subscription. Members who have paid and whose account is active can see the content. Non-members see either a redirect to your pricing page or a restriction message. That’s the entire mechanism — straightforward in concept, specific in implementation.
Traffic through gated content delivers 23–31% higher lead-to-customer conversion compared to ungated sources, according to conversion benchmarks. That number exists because the people who get past a gate are self-selected — they’re already willing to take action. Free content generates traffic. Gated content generates buyers.
There are three types of content gates, and knowing which one you’re using matters:
Hard gate (full restriction) — non-members see nothing. Redirect to pricing page or a join prompt. Best for your most valuable content where the mystery itself sells the membership.
Soft gate (inline restriction message) — non-members see a preview — a portion of the content, the opening paragraph, a sample — then hit a wall with a specific upgrade CTA. Best when you want the content itself to do the selling. The reader gets far enough to understand the value, then encounters friction.
Metered gate (allowance model) — visitors get a fixed number of free views per month before the gate appears. Think NYT, Forbes. Less common on membership sites but effective for content-heavy communities where you want to demonstrate value before asking for payment.
For most WordPress membership sites, you’ll use a combination of hard gates (for core member content) and soft gates (for teaser content near the upgrade path).
The 5 Levels of Content Protection in WordPress
Level 1: Individual Post or Page
The most granular level. You protect a specific post or page, and that restriction applies only to that piece of content. Everything else on the site remains public.
In StoreEngine, this works through the Access Group panel in the WordPress post editor sidebar. Open any post, find the Access Group dropdown, select the group that should have access. Non-members visiting that URL see whatever restriction behaviour you’ve configured — either a redirect or an inline message.
Use this for: premium blog posts, member-only announcements, private resource pages.
Level 2: Category or Taxonomy
Instead of protecting posts one at a time, you assign an entire category to an Access Group. Every post inside that category inherits the restriction automatically. Add a new post to the category and it’s protected without any extra steps.
This is the most practical protection level for content libraries. You create a “Members Only” category, assign it to your Core Access Group, and every post you publish into that category is instantly protected. No manual configuration per post.
In StoreEngine, category-level restriction is set from the Access Group settings — you select which taxonomies or categories are associated with which group.
Use this for: content libraries, resource archives, members-only blog sections.
Level 3: File and Media Protection
This is the level most people miss. If you upload a PDF, worksheet, or download to the WordPress Media Library and link to it from a protected page, the page is protected — but the direct file URL isn’t. Someone who finds the URL (from a Google cache, a shared link, or a member screenshot) can download the file without being a member.
True file protection means restricting access at the file URL level, not just the page level. In StoreEngine, protected files can’t be accessed via direct URL — the system checks membership status before serving the file. Non-members get redirected rather than the file.
Use this for: downloadable PDFs, templates, worksheets, audio files, protected video files, any digital asset with standalone value.
Level 4: Custom Post Types
Custom post types — portfolio entries, products, events, lesson CPTs from an LMS — can also be restricted by Access Group. This matters when you’re running a membership site that includes something beyond standard posts and pages: a course plugin creating lesson CPTs, a directory plugin creating listing CPTs, or an events plugin creating event CPTs.
In StoreEngine, you can assign Access Groups to specific post types, not just to individual posts within them.
Use this for: LMS lessons, event listings behind a members-only community calendar, job board listings for members, portfolio items for client-gated projects.
Level 5: Entire Site
One toggle restricts all content on the site to logged-in members. Unauthenticated visitors — anyone who hasn’t logged in — see a login/join page. All URLs redirect there until authentication.
This is the right model for fully private membership portals: corporate intranets, private communities, internal tools, or memberships where the entire site is the product. It’s not the right model for membership sites that want public-facing content (SEO blog posts, free content to attract traffic) alongside gated content.
In StoreEngine, site-level restriction is configured from the Membership addon settings. You can set specific public pages (homepage, pricing page, sales page) to remain visible to non-members while everything else is gated.
Use this for: private portals, internal tools, fully gated communities with no public content.

Redirect vs Inline Restriction Message — Which One Converts Better?
When a non-member hits protected content, two things can happen:
Option 1: Redirect — the visitor is immediately sent to a different page. Usually the pricing page or a dedicated join page. They never see the protected content.
Option 2: Inline restriction message — the visitor sees the beginning of the content (or the full content blurred/cut off), followed by a message explaining that membership is required. The CTA is embedded directly in the page.
Here’s when to use each one:
Use redirect when:
- The content is completely behind the gate — no preview available
- The visitor needs to see your pricing page to understand the offer
- You want a clean conversion flow without distraction
Use inline restriction message when:
- You want the content itself to demonstrate the value before asking for payment
- You’re using teaser content strategy — showing the first 20% free to earn the other 80%
- You’re trying to convert free-tier members to paid tiers (they can see the content exists and what it covers, but not access it)
The restriction message itself matters more than most sites realise. “Members only. Please log in.” is a dead end. It tells the visitor nothing about why they should pay or what they’d get.
A better restriction message: “This is Pro content — exclusively for Pro members. Upgrade to Pro for $79/month to access this article, plus 200+ more like it.” Then a button: “Upgrade to Pro.”
That message does three things: it names the tier, it states the price (removing ambiguity), and it contextualises the value (“200+ articles”). The visitor knows exactly what they’re buying and why this specific piece is behind the gate.
In StoreEngine, you write a custom restriction message per Access Group. Lower-tier members hitting higher-tier content see the tier-specific upgrade message you’ve written. A Core member sees the Pro upgrade message. A non-member sees the Core join message. Same protection system, different CTAs per level.

What Is Drip Content? (And When You Actually Need It)
Drip content is the practice of releasing content to members on a schedule rather than all at once. Instead of a new member getting access to your entire library on day one, they unlock content progressively — week by week, module by module, or month by month.
Think of it like a TV series vs a Netflix film library. A library gives you everything immediately. A series makes you come back.
Drip content keeps members engaged and coming back for more — it builds anticipation, making content more appealing, and it prevents the “binge and cancel” pattern where a new member consumes everything in the first two weeks and then has no reason to stay.
The two main types of drip content:
Time-based drip (days after signup) — each member’s drip schedule starts from their own signup date. Member A joins in January and gets Module 2 in February. Member B joins in March and gets Module 2 in April. The schedule is relative to signup, not calendar date. This is the most common type for online courses and structured learning programs.
Taxonomy-based drip — content is assigned to a category or taxonomy that becomes accessible on a specific calendar date. All existing members get it simultaneously. Better for newsletters, community updates, and live content that’s tied to a specific moment in time.
When to use drip content:
✅ Structured courses where module 2 builds on module 1 — rushing ahead hurts the outcome
✅ Coaching programs where members shouldn’t access week 8 content in week 1
✅ Newsletters or community programs where content is time-indexed
✅ Preventing binge-and-cancel behaviour on large content libraries
✅ Communities where you want member cohorts to progress together
When not to use drip content:
❌ Reference libraries where members need to search and access specific items immediately (a legal document library, a template archive, a resource database)
❌ Communities where the value is connection rather than content consumption
❌ Any situation where members already know exactly what they want and waiting creates frustration rather than anticipation
StoreEngine’s drip implementation:
StoreEngine’s Membership addon uses taxonomy-based drip — content is assigned to categories or taxonomies that become accessible based on the rules you set per Access Group. This works well for membership sites with recurring content drops (new content releases each month) but is different from the day-after-signup sequential drip used by dedicated course plugins. If you need day-after-signup sequential drip for a structured course, the Academy LMS integration handles that — and Academy LMS course access gates automatically with StoreEngine membership status.
Content Protection vs Content Visibility: Understanding the Difference
These two concepts get confused constantly, and the confusion leads to poorly configured sites.
Content protection means the content is inaccessible. A non-member visiting the URL gets redirected or sees a restriction message. The content itself is not rendered.
Content visibility means the content exists on the page but is hidden from certain users — usually via CSS display:none or conditional blocks in the WordPress editor.
CSS-based visibility is not protection. Anyone who opens browser DevTools can toggle the CSS and read the hidden content. Search engines may index it. Anyone determined enough will find it in ten seconds.
Real protection happens at the server level — the content is not sent to the browser at all. The server checks membership status, and if the visitor doesn’t have access, the protected content never reaches their browser. That’s what a proper membership plugin implements.
This is the difference between “I hid the file in a folder” and “I locked the folder.” One is obscurity. The other is access control.
StoreEngine implements server-side content protection — the content is never rendered for non-members. This applies to posts, pages, files, and custom post types. The URL exists and is publicly crawlable by search engines (which is correct behaviour for SEO), but the content body is replaced by the restriction message or redirect.
Setting Up Content Protection in StoreEngine: Step by Step
Here’s the exact configuration sequence:
Step 1: Create your Access Groups.
Go to StoreEngine → Membership → Access Groups → Add New. Create one group per tier — “Core Members,” “Pro Members.” Set expiration rules: 30 days for monthly subscribers, 365 days for annual, never for lifetime.
Step 2: Assign content to each group.
For individual posts or pages: open the post editor, find the Access Group panel in the sidebar, select the group. For categories: go to the Access Group settings and assign the relevant categories. All posts in those categories inherit protection instantly.
Step 3: Set restriction behaviour.
For each Access Group, choose between redirect (non-member sent to a URL you specify — usually your pricing page) or inline restriction message. You can configure this per group.
Step 4: Write your restriction messages.
In the Access Group settings, write a specific upgrade or join message. Don’t use the default. Name the tier, state the price, quantify the value. Give the visitor a direct link to the pricing page or a buy button.
Step 5: Configure Granular Exclusions.
StoreEngine supports excluding specific posts from otherwise protected categories. If your “Members Only” category is protected, but you want one specific post in that category to remain public as a teaser or lead magnet, you add that post to the Granular Exclusions list. It overrides the category rule for that specific post only.
Step 6: Set file protection.
For any downloadable files linked from protected content, verify that direct URL access is blocked. Test this by copying the file URL and visiting it in a private/incognito browser window while logged out. If the file loads — protection is not configured. If you get a redirect or error — protection is working.
Step 7: Test everything logged out.
This is the step most people skip and then discover the problem in production. Open an incognito browser window. Visit every protected page, category archive, and file URL. Confirm the restriction behaviour is exactly what you configured. Then log in as a lower-tier member and verify that higher-tier content is correctly gated with the right upgrade message.

Common Content Protection Mistakes (And How to Avoid Them)
Mistake 1: Protecting the page but not the file.
You restrict a download page to members. But the PDF URL is still public. Anyone who finds the PDF link can download it. Fix: verify file protection is enabled and test direct file URLs while logged out.
Mistake 2: Using a generic restriction message.
“You must be logged in to view this content.” is the most common restriction message on the internet. It tells the visitor nothing and converts nobody. Write a specific message with a named tier, a price, and a CTA.
Mistake 3: Protecting your pricing page.
This sounds obvious but it happens. If the page that explains your membership and its cost is behind a membership restriction, non-members can’t see it. Your pricing page should always be fully public.
Mistake 4: Not testing as a logged-out user.
You configure everything while logged in as an admin. Admins bypass all restrictions — they can see everything. You need to test as a non-member (incognito browser, logged out completely) to see what your visitors actually experience.
Mistake 5: Drip content on reference material.
A member pays $79/month to access your template library. They need template #47 immediately. You’ve configured drip to release content monthly. Now they’re waiting six weeks for something they paid for. Drip is for sequential courses, not searchable resource libraries.
Decision Framework: Which Protection Level Is Right for You?
- You publish new content regularly and want it all gated → use category-level protection. Create a “Members Only” category, assign it to your Access Group, publish everything into it. Zero manual configuration per post.
- You want some free content for SEO and some gated content → use a combination of public categories for free content and protected categories for member content. Never restrict your pricing page, homepage, or lead magnet landing pages.
- You have a structured course with sequential modules → use drip content. Either taxonomy-based drip in StoreEngine or sequential day-after-signup drip in Academy LMS with StoreEngine membership controlling access.
- You want to show non-members a taste of the content to encourage signup → use inline restriction messages with teaser content. Let non-members see the first 20–30% of a post, then present the upgrade CTA with the specific tier name and price.
- You run a fully private portal where nothing is public → use site-wide restriction in StoreEngine and configure specific pages (homepage, pricing, about) as public exceptions.
Frequently Asked Questions
What is gated content?
Gated content is any content that requires the visitor to complete an action — usually registering, logging in, or paying — before they can access it. On a membership site, the gate is the subscription. Members with an active account can view the content; non-members see a redirect to your pricing page or a restriction message explaining how to gain access.
What is the difference between gated content and a paywall?
They’re closely related. A paywall specifically requires payment before access — it’s a type of gate. Gated content is broader — it can require registration (email capture) or login without necessarily requiring payment. A membership paywall is gated content where the gate is a paid subscription. Metered paywalls (like news sites giving 5 free articles/month) are a hybrid — partial gating before the paid wall appears.
How do I restrict a page in WordPress?
Open the page in the WordPress editor, find your membership plugin’s Access Group or membership level panel in the sidebar, and assign the page to the appropriate group. Non-members visiting the page will be redirected or shown a restriction message depending on your plugin settings. In StoreEngine, this is done through the Access Group panel in the post/page sidebar.
What is drip content?
Drip content is content released to members on a schedule rather than all at once. Instead of getting access to your entire library on signup, members unlock content progressively — week by week, module by module. It reduces binge-and-cancel behaviour, improves engagement for structured courses, and gives members a reason to return regularly. The schedule can be relative to each member’s signup date (time-based drip) or based on calendar dates (taxonomy-based drip).
Can I protect files and downloads, not just pages?
Yes, but you need to verify your plugin implements server-side file protection, not just page-level restriction. If only the page is protected but the file URL is public, anyone with the direct link can download the file. In StoreEngine, file protection blocks direct URL access — the server checks membership status before serving the file. Test this by copying a protected file URL and visiting it in an incognito browser window while logged out.
What is the best restriction message for non-members?
Specific beats generic every time. “Members only. Log in.” tells visitors nothing. A better message names the tier, states the price, quantifies the value, and includes a direct CTA: “This is Pro content, available to Pro members ($79/month). Upgrade to Pro to access this article and 200+ others in the library. [Upgrade now].” The restriction message is a sales moment — treat it that way.
How do I protect my entire WordPress site?
Most membership plugins include a site-wide restriction option that redirects all unauthenticated visitors to a login or join page. In StoreEngine, you enable site-wide restriction in the Membership addon settings and then specify which pages (pricing page, homepage, about page) should remain publicly visible. Test by visiting your site in an incognito window to confirm the restriction is working correctly on all URLs.
How does StoreEngine handle content protection?
StoreEngine’s Membership addon implements server-side content protection at five levels: individual post/page, category/taxonomy, file/media, custom post type, and entire site. Non-members are either redirected to a URL you specify or shown a custom inline restriction message per Access Group. The plugin supports Granular Exclusions — overriding category-level protection on specific individual posts — and custom restriction messages per Access Group so different tiers see different upgrade CTAs.