


The Initial Setup Wizard helps you configure your StoreEngine-powered store quickly after installation. It guides you through the essential settings so you can start selling without manual setup.
When does the Setup Wizard appear?
The Setup Wizard automatically appears when you activate the StoreEngine plugin for the first time.
You can also start it manually at any time by going to: StoreEngine Dashboard → Tools → Setup Wizard

Welcome Screen
After clicking on the “Setup Wizard” option, the “StoreEngine Welcome Screen” will appear.
On this screen, you’ll see two options:
- Proceed to Next Step
- Skip This Setup
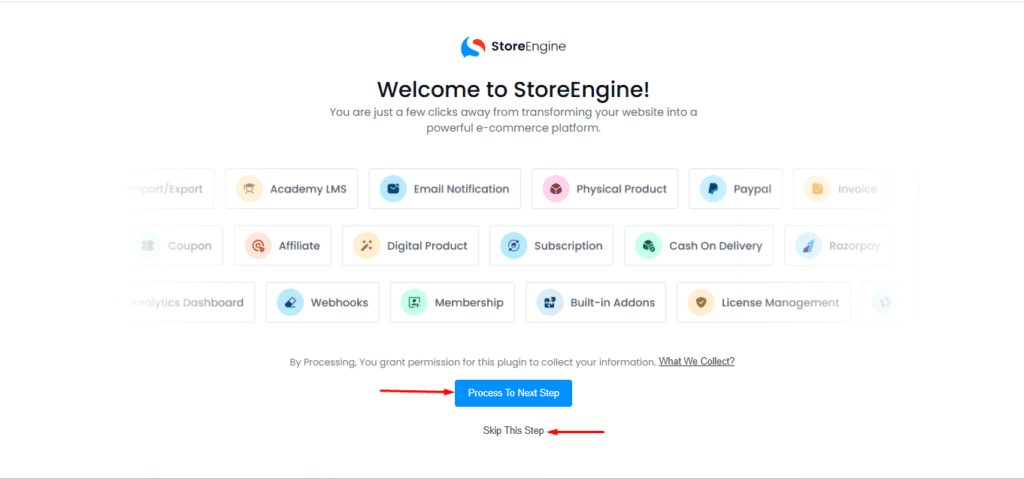
You may skip the setup if you prefer. However, clicking “Proceed to Next Step” will guide you through the recommended configuration process.
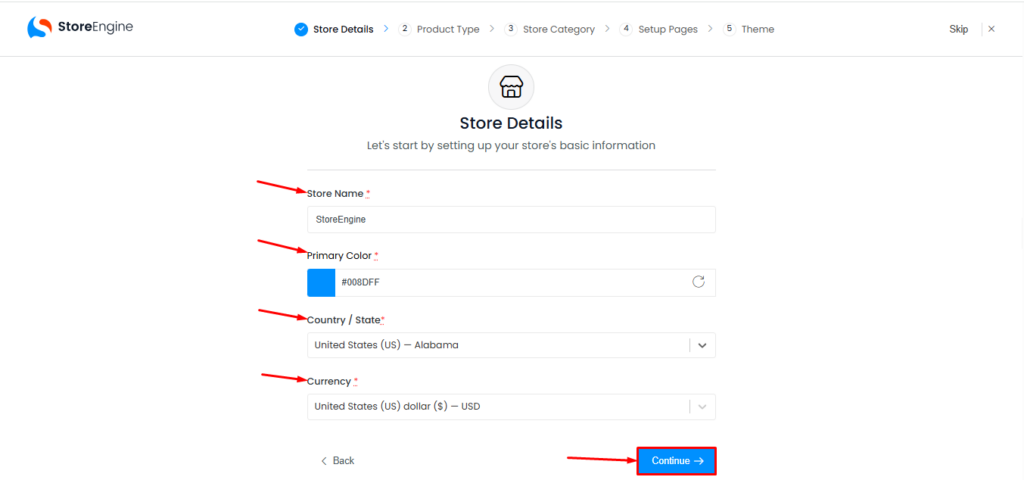
Step 1: Store Details
In this step, you need to enter the basic information about your store:
- Store Name
- Primary Color
- Country / State
- Currency
These details will be used across your store, including checkout, receipts, and email notifications.
After completing the fields, click the “Continue” button.
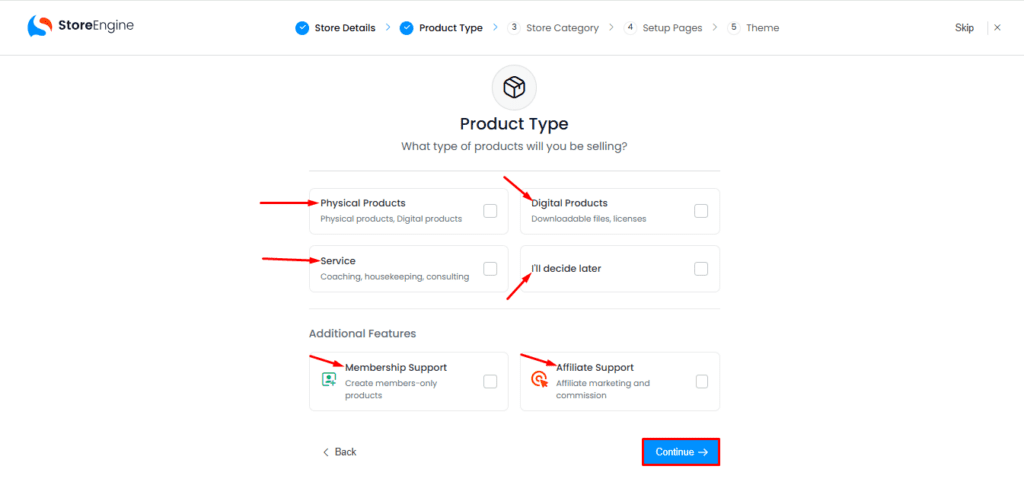
Step 2: Product Type & Features
After clicking Continue, you’ll be redirected to the “Product Type” page.
Here, choose the type of products you want to sell and enable additional features if needed.
Product Type:
- Physical Products
- Digital Products
- Service
- I’ll decide later
Additional Features:
- Membership Support
- Affiliate Support
Once selected, click “Continue”.
Step 3: Store Category
Next, you’ll be taken to the Store Category page. Select the category that best describes your business.
Available categories include:
- E-commerce
- Education
- Business
- Agency
- Personal
- Blog
- SaaS
- Other
After making your selection, click “Continue”.

Step 4: Setup Pages
In this step, StoreEngine will help you create the essential pages required for your store:
- Checkout
- Cart
- Receipt
- Shop
- User Dashboard
These pages will be automatically created and can be customized later. After reviewing the pages, click Continue.

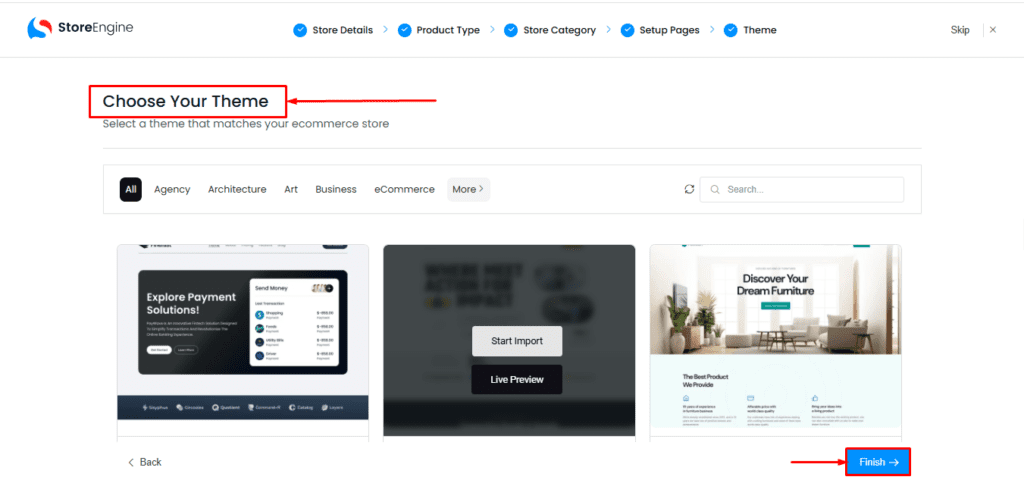
Step 5: Choose Your Theme
Next, you’ll see the “Choose Your Theme” screen. Here, you can select a theme that best matches your store’s needs. This theme can be changed later if required.
After selecting a theme, click the “Finish” button.
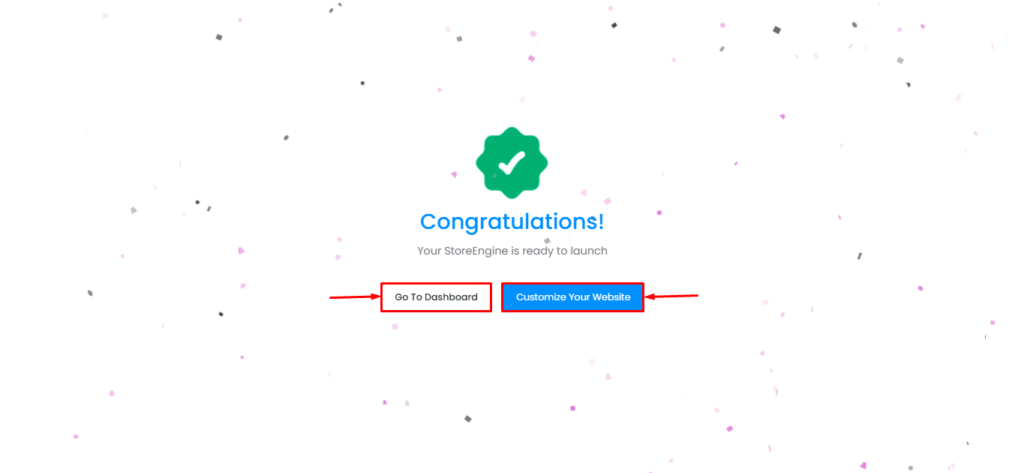
Completion
Once you click Finish, you’ll be redirected to the Congratulations page. From here, you can proceed by clicking:
- Go to Dashboard & Customize Your Website
Your store setup is now complete, and you’re ready to start selling with StoreEngine!
Now that your initial setup is complete, you can start adding products, customizing your store design, and configuring advanced settings from the StoreEngine dashboard.