


The StoreEngine Webhooks Addon allows you to connect your StoreEngine-powered shop with third-party applications. This concise guide is designed to provide you with the essential information needed to integrate and leverage the power of webhooks within StoreEngine.
This documentation will walk you through the setup, configuration, and usage of the StoreEngine Webhooks Addon. While many platforms support Webhook integration, in this guide, we will use Pabbly Connect to send real-time store event data to Google Sheets. Let’s get started!
Get the Delivery URL From Pabbly Connect
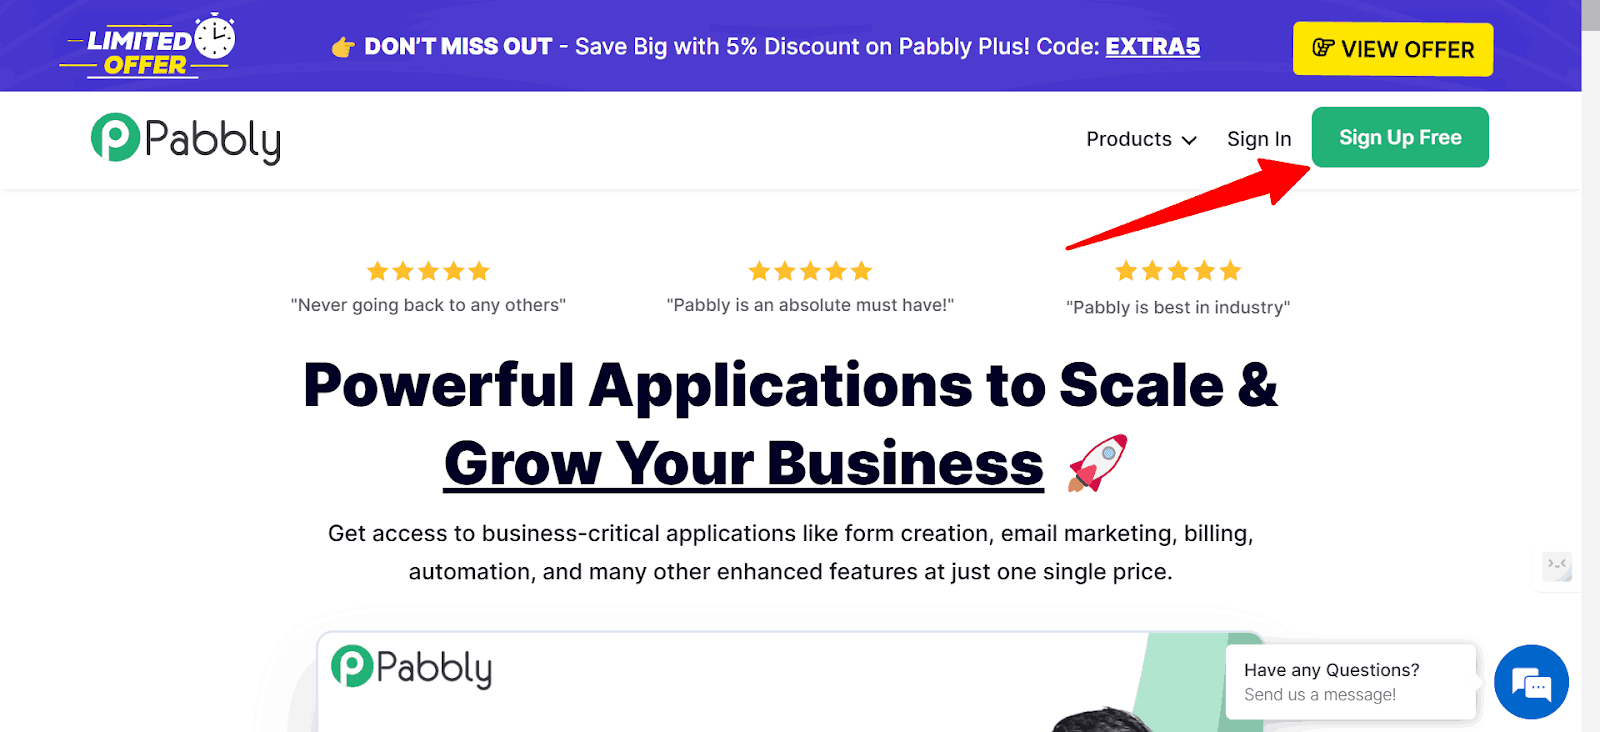
To get the delivery URL from Pabbly Connect, go to the Pabbly Connect website and click on Sign Up Free from the top right.
After creating your account successfully, click the Access Now button under the Pabbly Connect section.
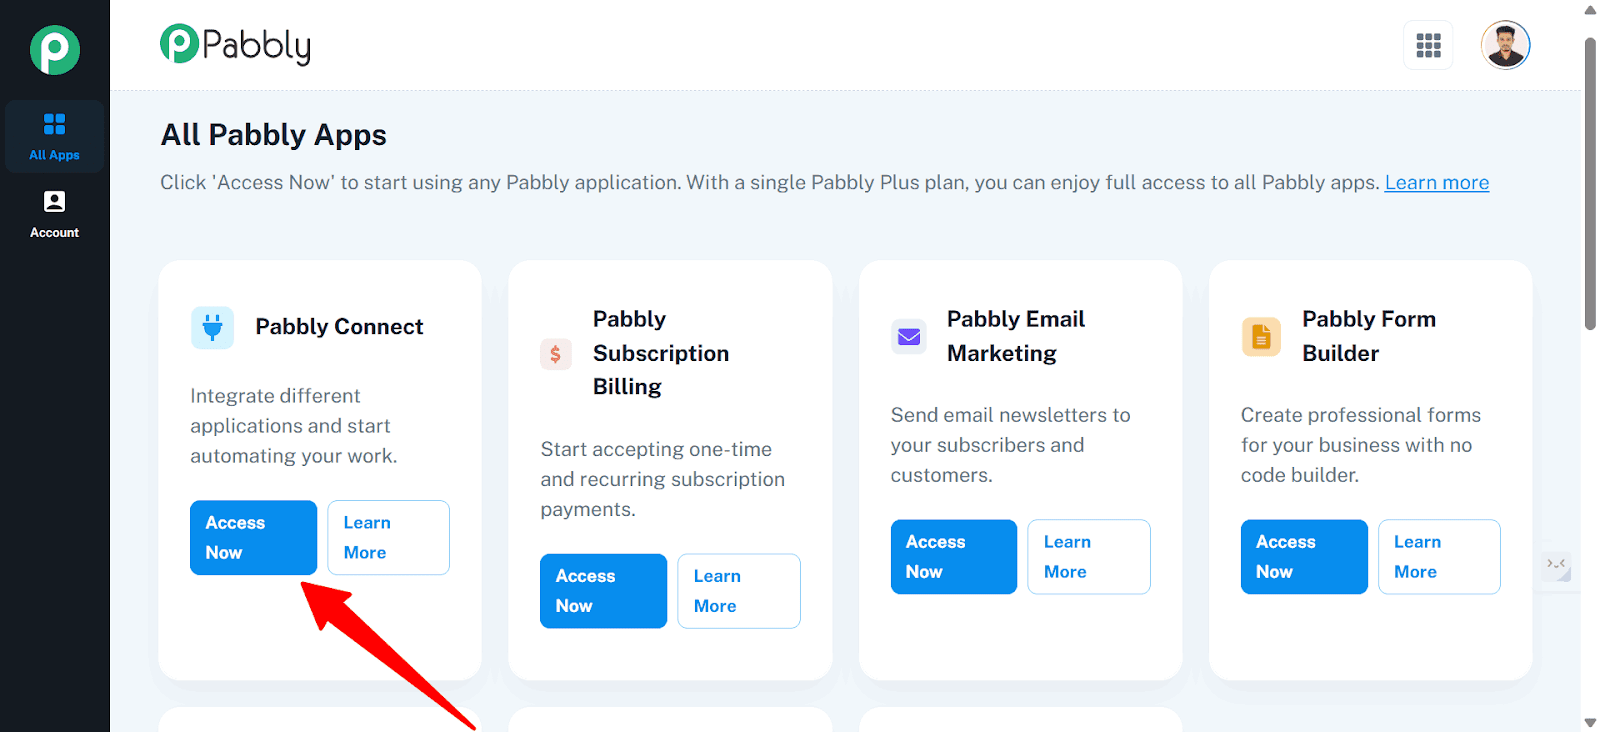
Click on the access now button
Now, click on Create Workflow.

Set a name for your workflow and select a folder.

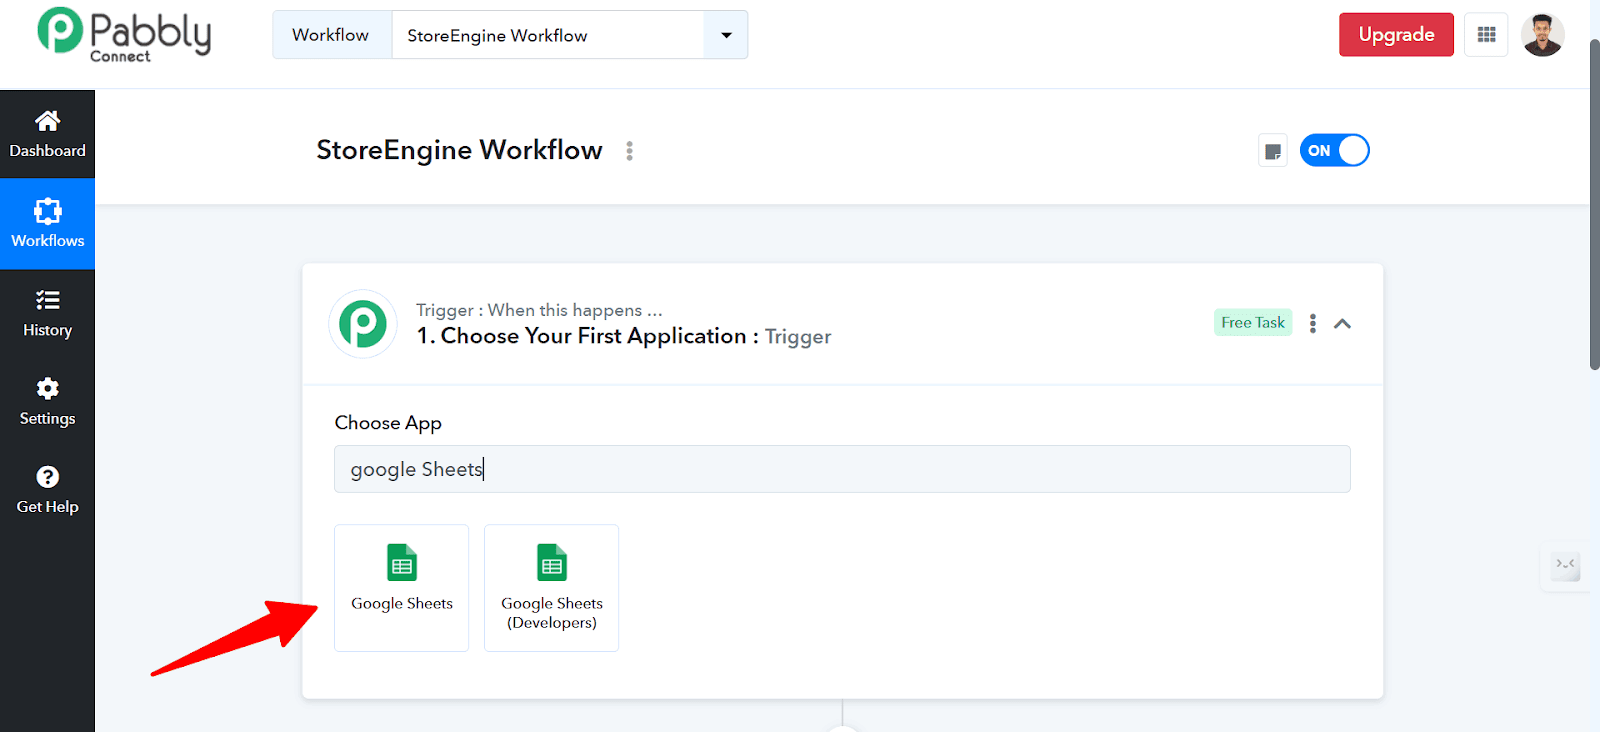
In the apps section, search for the platform that you want to integrate. This time, I search for “Google Sheets” and select that.
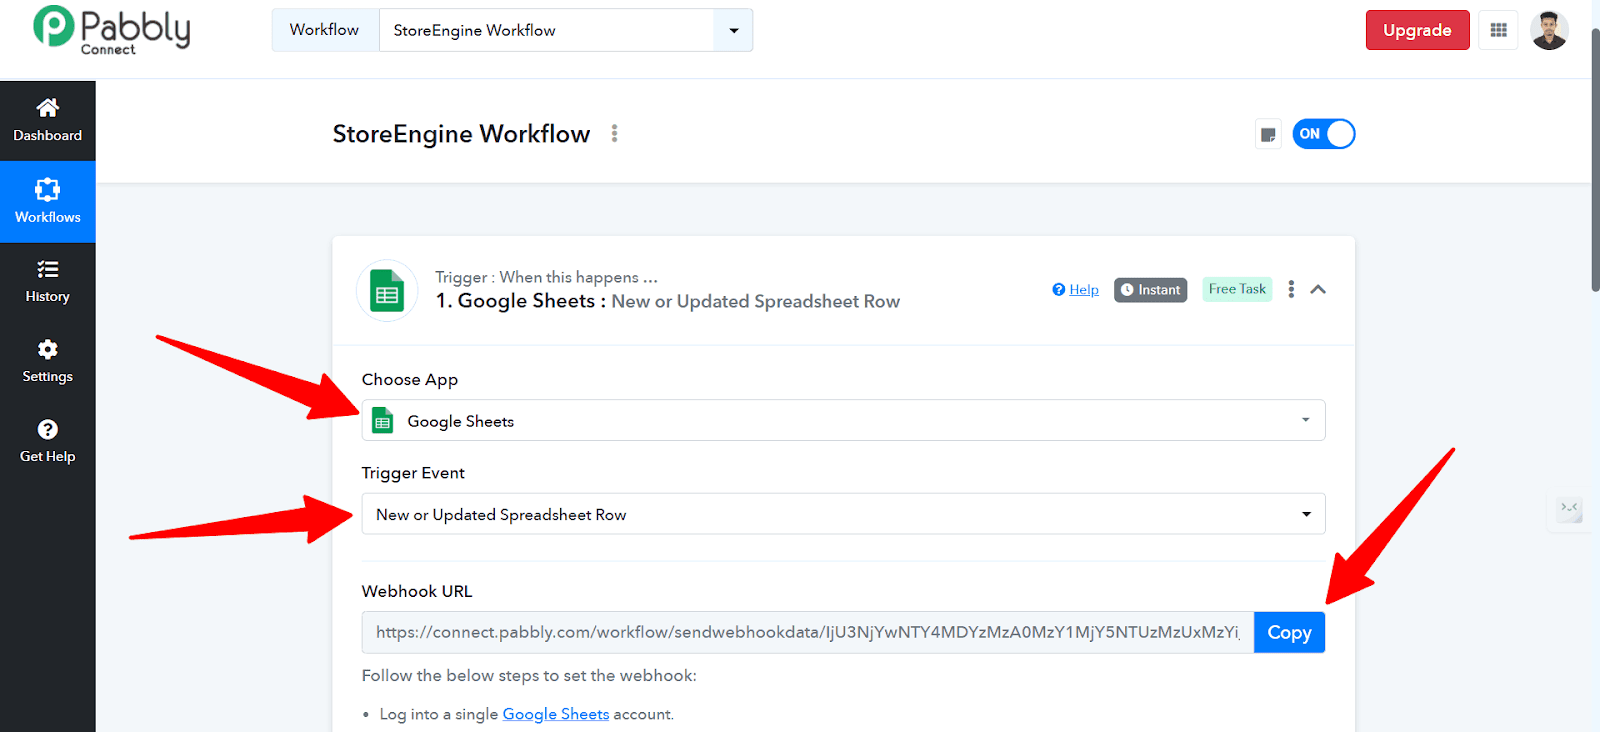
After that, select the trigger event, and then you will get a webhook URL. Simply copy the URL.
Add a New Webhook
Once you’ve created the webhook URL, go back to your StoreEngine dashboard. Go to the Addon menu, enable the Webhook Addon, and click on the settings icon.

Alternatively, you can go to the Webhooks section directly by clicking on Webhooks from the StoreEngine dashboard menu.
On the Webhooks page, click on the Add New Webhook button.
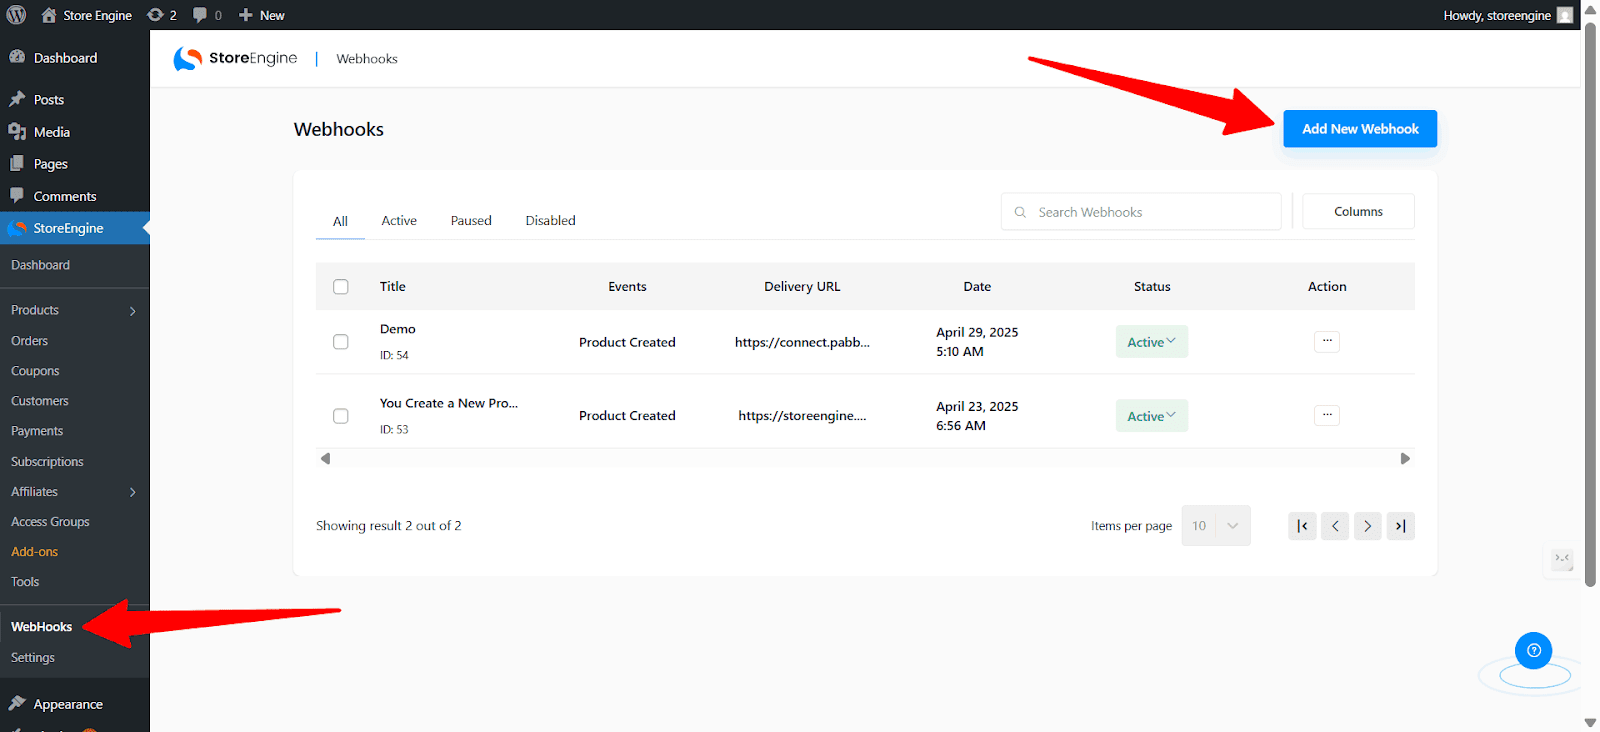
Create a New Webhook
Click the Add New Webhook button to open the webhook setup form.
Required Fields
- Webhook Name
Add a title for internal reference.
2. Events Type: Select the trigger event for the webhook. Available events:
Product created
Product updated
Product deleted
Product restored
Coupon created
Coupon updated
Coupon deleted
Coupon restored
Order created
Order updated
Order deleted
Customer created
Customer updated
Customer deleted
3. Delivery URL
Enter the endpoint where the webhook payload should be sent.
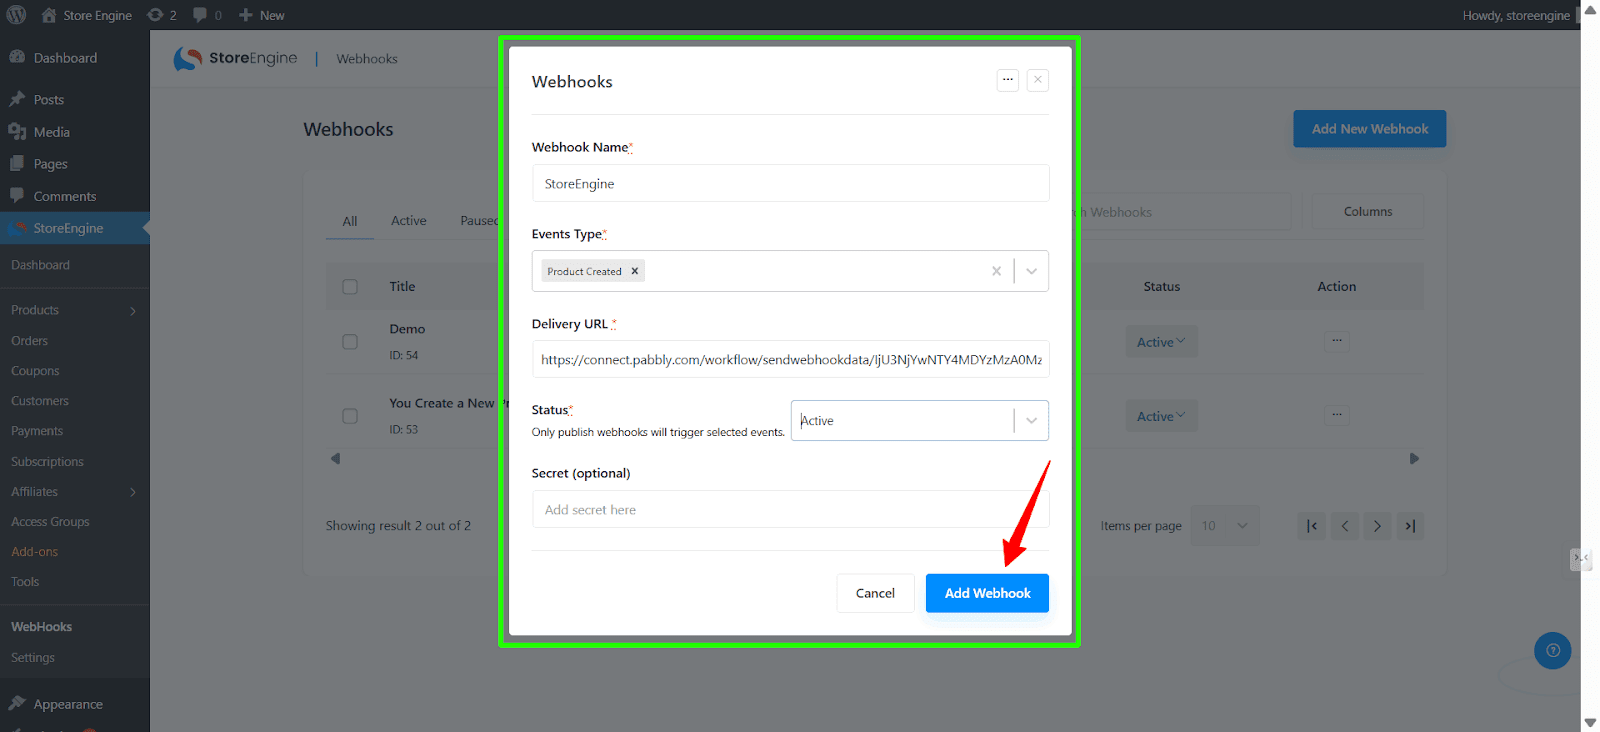
4. Status: Choose the webhook status:
Active
Pushed
Disabled
5. Secret (optional): You can add a secret key for added security. This helps verify the source of incoming requests.
Once all fields are filled out, click Add Webhook to save.

Congratulations! You have now successfully set up StoreEngine Webhooks to send real-time store event data to third-party platforms.