


What it does: Add product brands to your store — like categories, but for manufacturers or labels. Each brand gets its own logo, banner, and page, shows on product pages, and gives shoppers a way to filter the shop by brand. This is a Free add-on.
Turn it on
- Go to StoreEngine → Add-ons and turn on Brands.
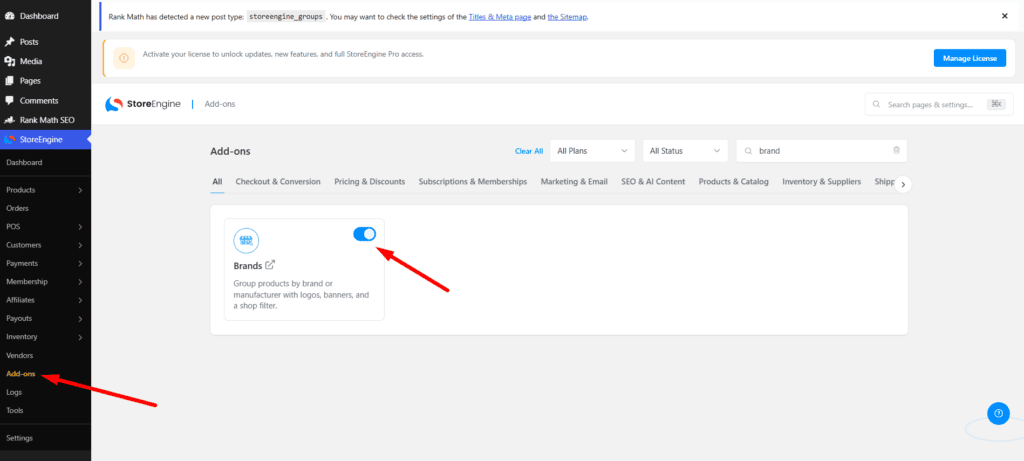
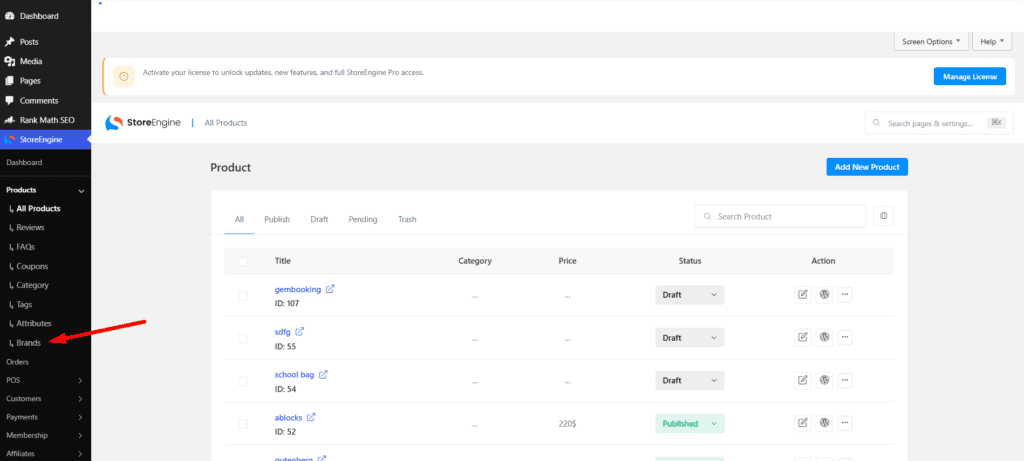
- A Brands item appears under Products.
Create a brand
- Go to Products → Brands.
- Click Add New Brand and fill in:
- Name (required)
- Slug — the web address part (auto-filled from the name)
- Description — optional; you can even generate it with AI if the AI add-on is on
- Logo — square image recommended (PNG, JPG, or SVG)
- Banner — wide image recommended (about 1200×300)
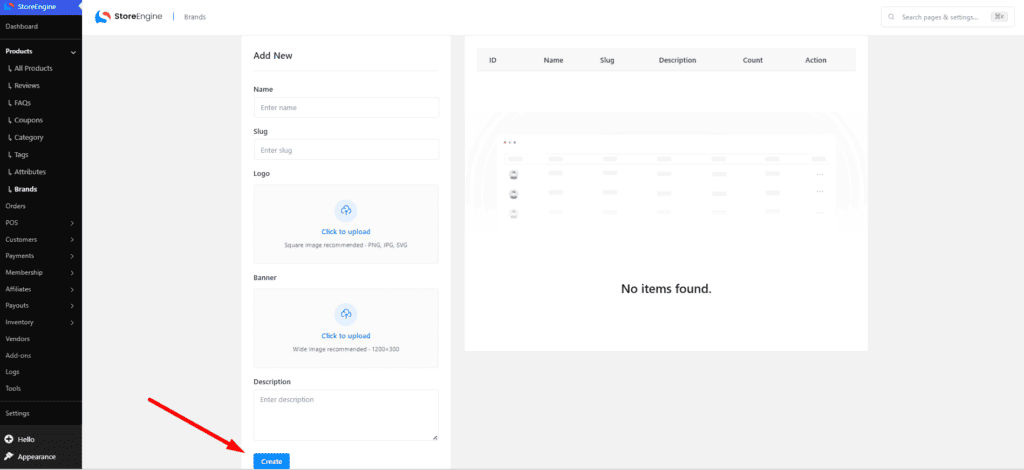
- Save.
Assign brands to products
- Open a product.
- In the Organize panel, use the Product Brands field to pick one or more brands.
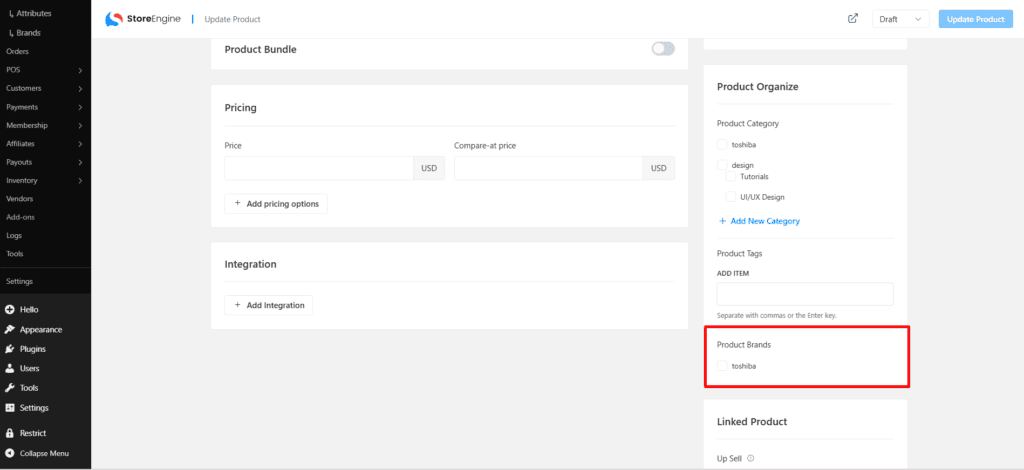
- Update the product.
Where brands appear for shoppers
- On the product page — the brand(s) show under the category/tag area, labelled Brands:, each linking to that brand’s page.
- On the shop page — a Brand filter (checkboxes) lets shoppers narrow products by brand, alongside category and tag filters.
- Brand pages — each brand has its own archive page at an address like /product-brand/your-brand/, showing that brand’s logo, banner, and products.
Good to know
- There’s no settings page — Brands is simply on or off. Everything is configured per brand.
- If you turn the add-on off, the brand menu, product field, and storefront display go away, but your existing brand entries are kept in the database (no data is lost) and return if you switch it back on.